Corebooting a Lenovo Thinkpad T420
Updating EC firmware
Before you flash coreboot into the ROM chip, you should update the existing stock manufacturer firmware which will update the EC firmware to fix bugs. You can do this by booting into a Windows 7 installation and downloading the latest BIOS for the T420 which is v1.52 and you can find it here. Download the EXE file and run it. This will update the existing EC firmware on the board.
Disassembly
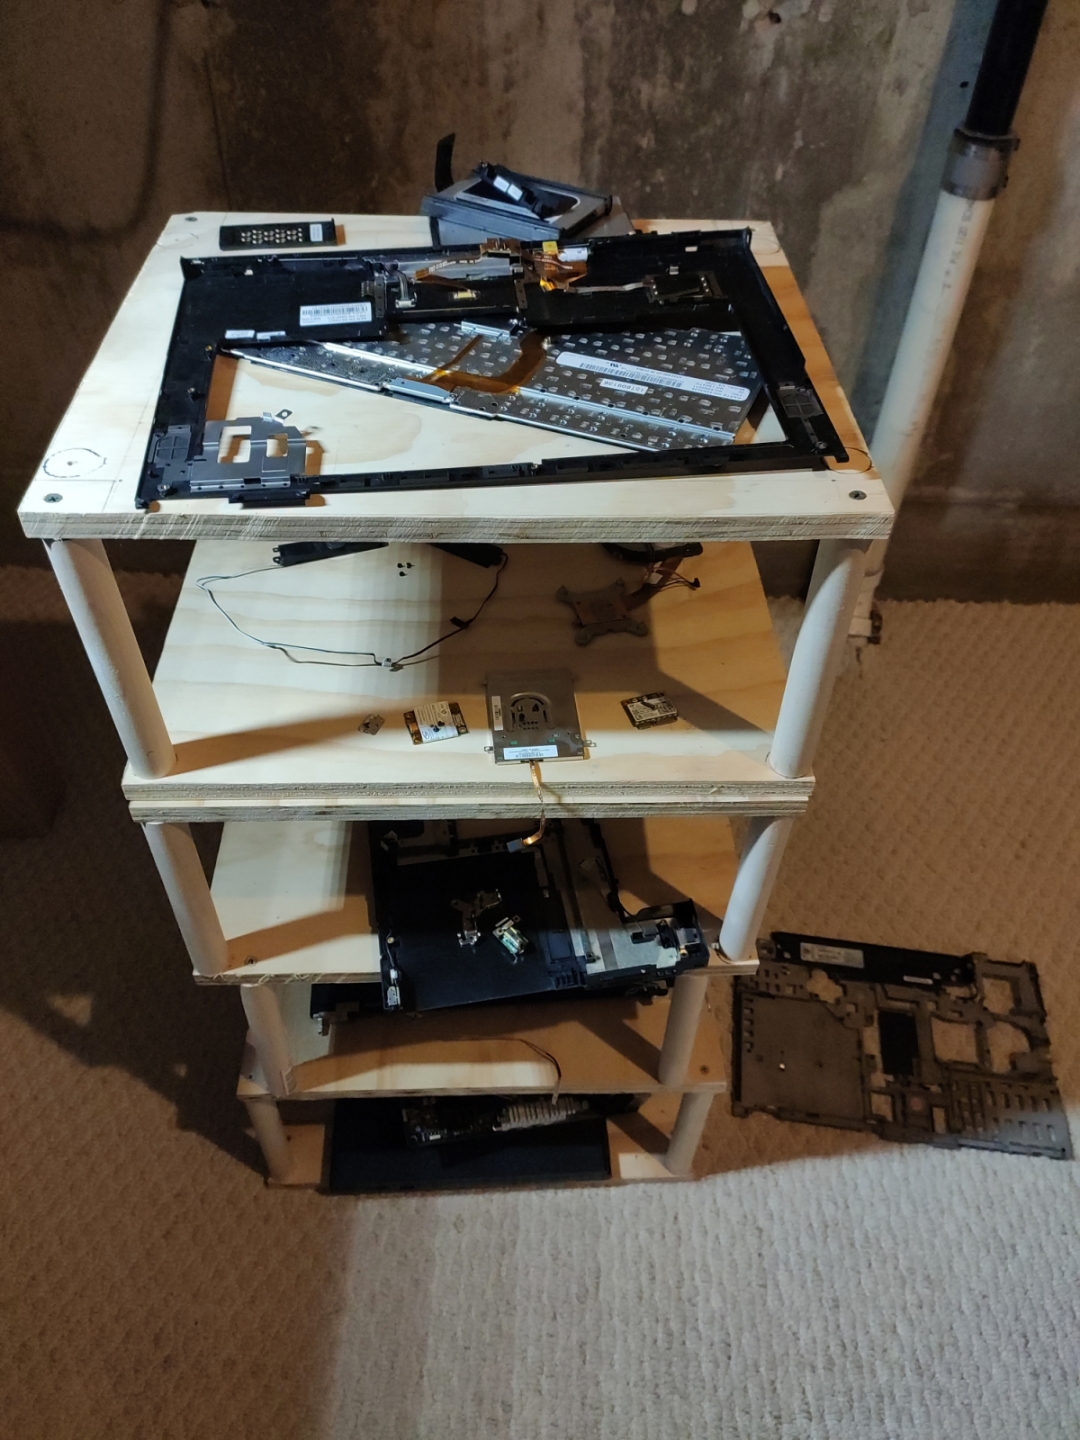
The hardest part is taking apart the laptop because you have to take the entire thing apart due to the location of the chip. I followed the hardware maintenance manual found here and just took apart the laptop one piece at a time. It is key to have some sort of system to remember what screws went where and with what part. I have a wooden shelf that I used to put all the parts on as I was working. It's not the greatest solution, but it works.
Getting the Programmer Ready
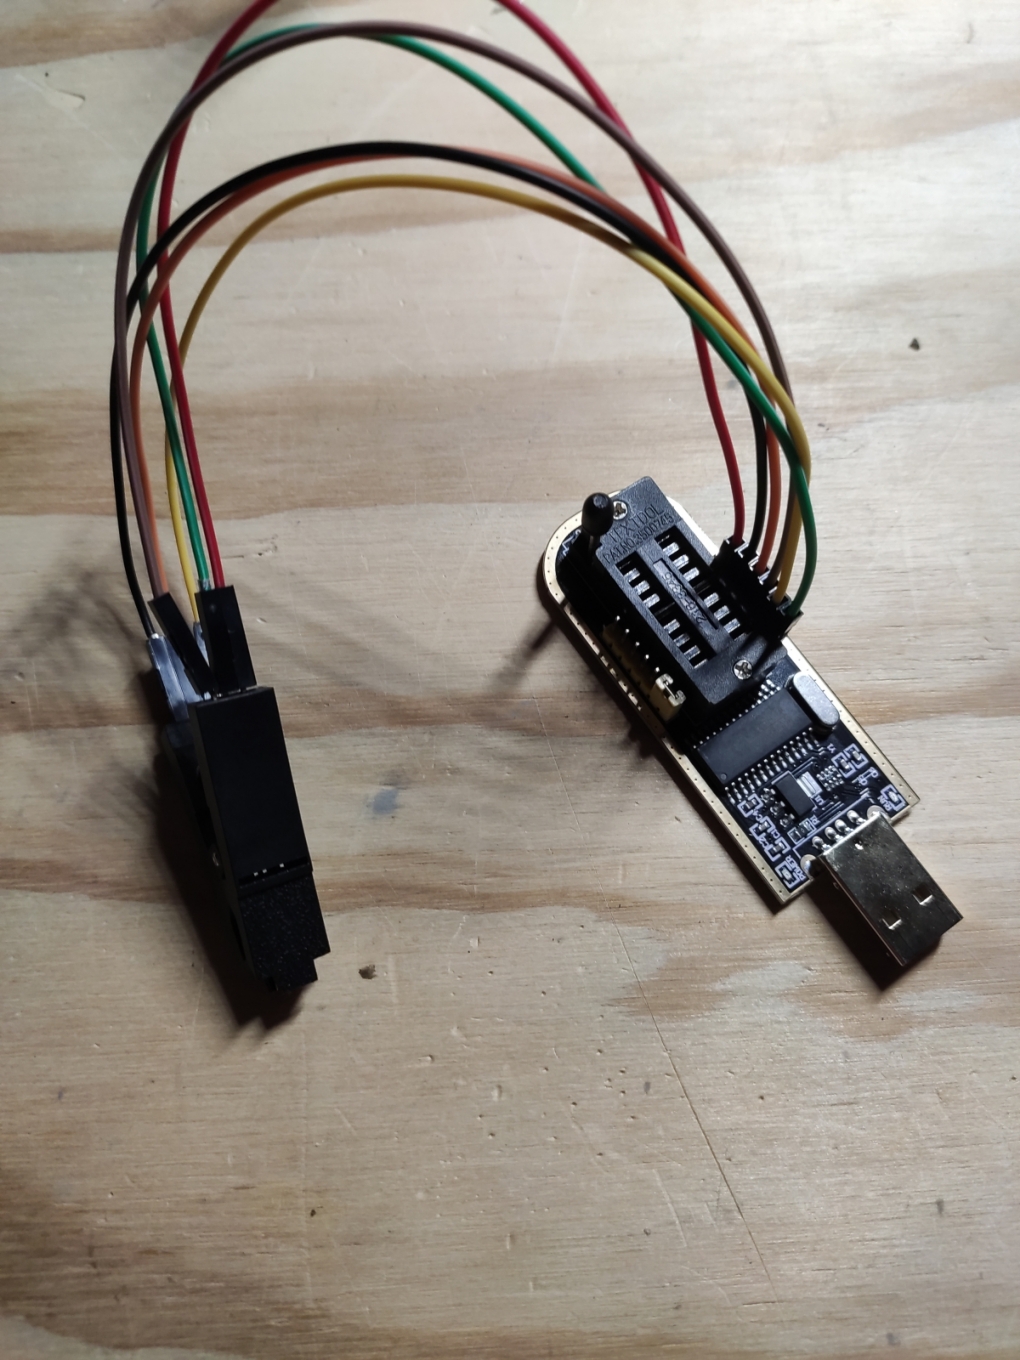
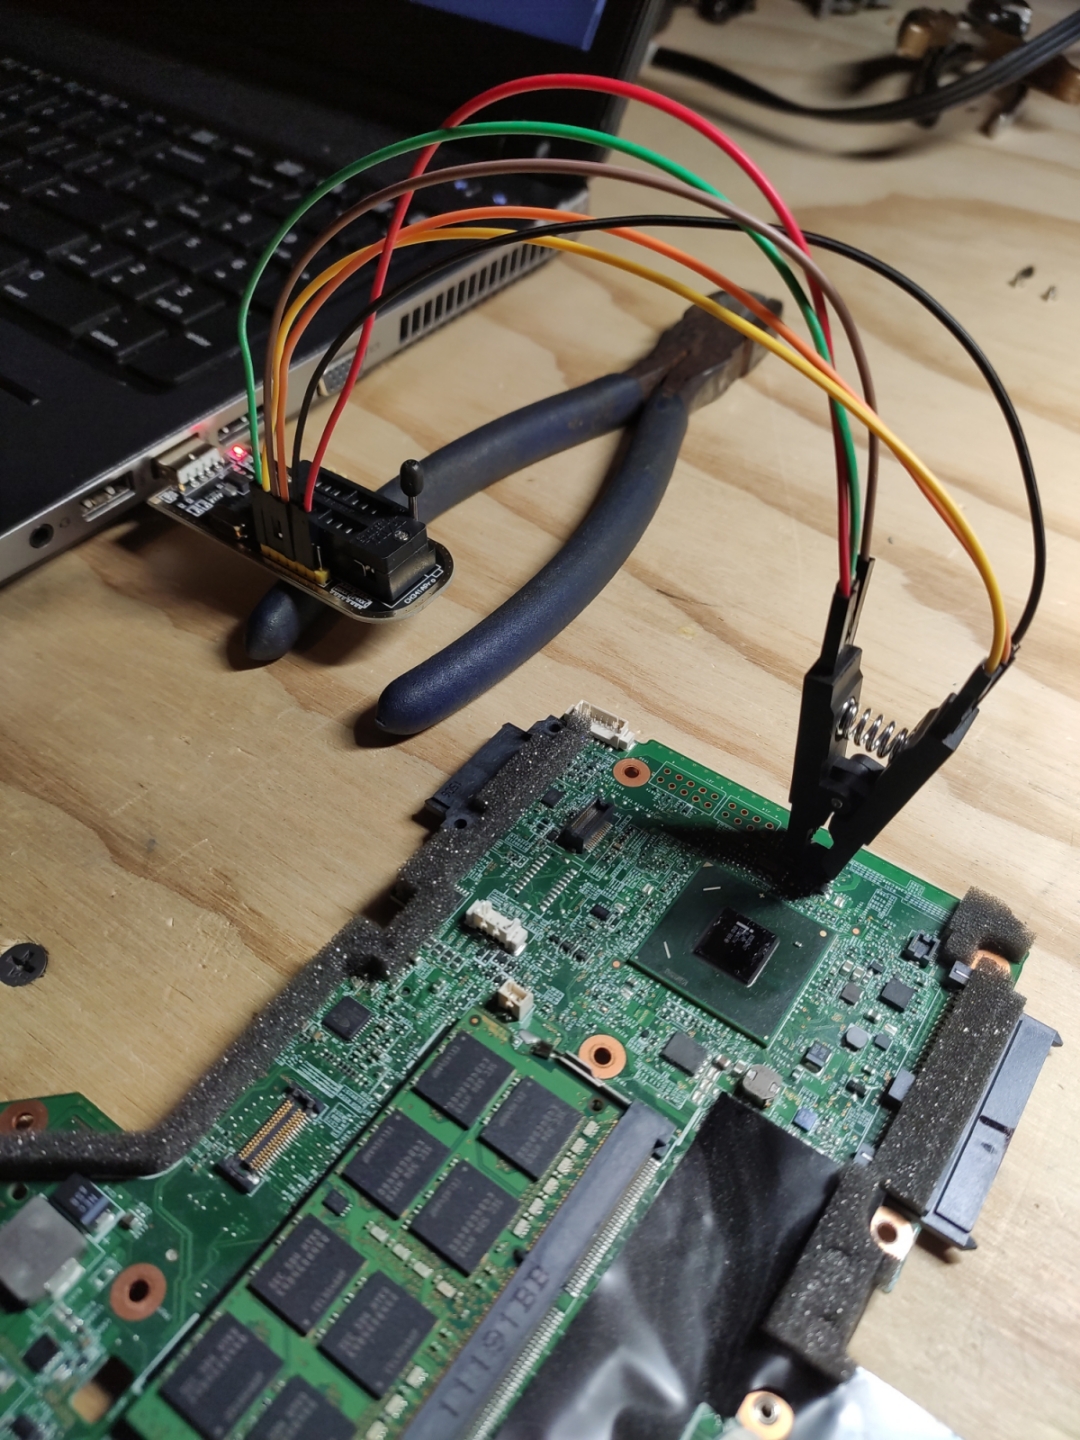
I used a CH341A programmer for this project. Heres what it looks like:
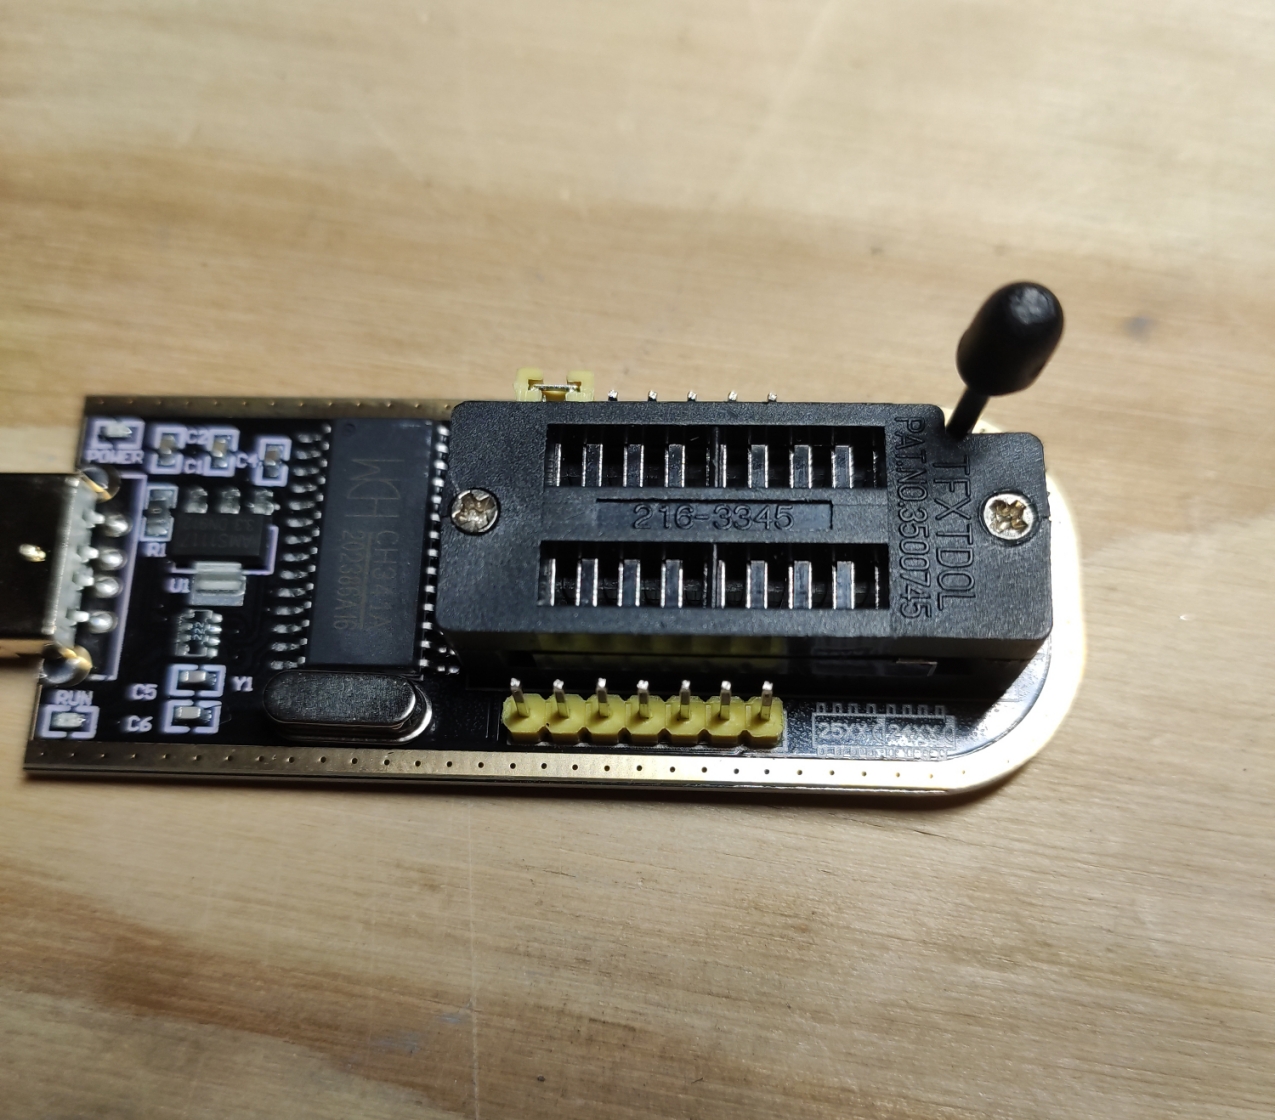
If you hold the programmer so the USB port is facing down, I used the 7 yellow pins that are on the right side for flashing the chip. In this image, the pins are as follows from
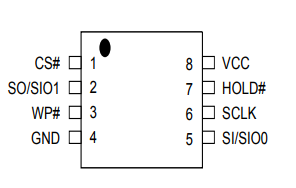
The specific chip that was in my T420 was the Macronix MX25L3206E. The datasheet for it can be found here. It is 8MiB in size and has 8 pins. Heres a diagram of the chips pins:
Once I had the pins hooked up correctly on the programmer and the clip. I attached it to the chip on the motherboard and plugged the programmer into the computer. Also, you should attach the clip to the chip first before you plug the programmer into a USB on the computer.
Flashing the Chip
You are going to need a computer with a USB port that is running some sort of Linux distribution in order to flash the chip. I used a program called flashrom to interact with the chip using the CH341A programmer.
Once I had the clip on the chip and the programmer plugged in, I ran these commands:
First, read the contents of the chip:
# flashrom -p ch341a_spi
if everything is fine it will show you a list of chips name to pass with -c parameter, I chose MX25L6406E/MX25L6408E:
# flashrom -p ch341a_spi -c MX25L6406E/MX25L6408E -r t420_factory.bin
Do it again:
# flashrom -p ch341a_spi -c MX25L6406E/MX25L6408E -r t420_factory2.bin
Check that the files are not different:
# diff t420_factory.bin t420_factory2.bin
If you get no output then they are the same and you are good. Store these files in a safe place in case you have to reflash the factory firmware for whatever reason.
Now download Coreboot
# git clone https://review.coreboot.org/coreboot
  # cd coreboot
  # git submodule update --init --checkout
Extract the binary blobs from the raw flash image that you read earlier:
# cd ./util/ifdtool
  # make
  # ./ifdtool -x path/to/t420_factory.bin
The following files will show up
- flashregion_0_flashdescriptor.bin
- flashregion_1_bios.bin
- flashregion_2_intel_me.bin
- flashregion_3_gbe.bin
You will use these later so remember the file path that they are in.
Head to the main coreboot directory and build the Coreboot Toolchain (this will take a while):
# make crossgcc-i386 CPUS=(put the number of cores your cpu has here, Ex. 4)
You might have to install some packages on your system if you dont have them such as a C compiler. Just pay attention to what it is says because it will tell you what you are missing if you try to run this command.
Once that is finished building, you can configure your coreboot image with a graphical(ish) interface:
# make nconfig
You will be greeted with a menu with several options. Here is what you should change in each of the sections for a basic configuration:
General Setup
- Select: Use CMOS configuration values
Mainboard
- Select: Mainboard vendor (Lenovo)
- Select: Mainboard model (ThinkPad T420)
- Select: ROM chip size (8MB)
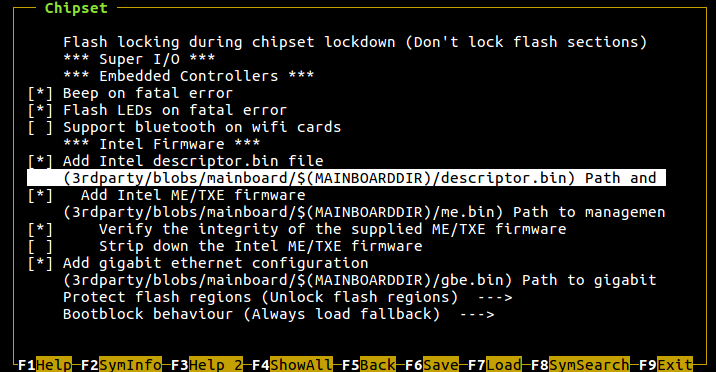
Chipset
- Include CPU microcode in CBFS (Generate from tree)
- Select: Add Intel descriptor.bin file
- path/to/flashregion_0_flashdescriptor
- Select: Add Intel ME/TXE firmware
- path/to/flashregion_2_intel_me
- Select: Verify the integrity of the supplied ME/TXE firmware
- Select: Strip down the Intel ME/TXE firmware
- Select: Add gigabit ethernet firmware
- path/to/flashregion_3_gbe
Generic Drivers
- Select: PS/2 keyboard init
Once everything is all set with the configuration, press F6 to save it and take the default ".config" name.
Now you should be in the main coreboot directory so do:
# make
Your coreboot.rom file will be placed in the "build" folder. Unlock the flash descriptor if you want to write to ME region without an external programmer when bios will be installed:
# ./path/to/ifdtool -u build/coreboot.rom
That will create a new file called "coreboot.rom.new" and this is the one you want to flash to the chip so do it now:
# flashrom -p ch341a_spi -c MX25L6406E/MX25L6408E -w ./build/coreboot.rom.new
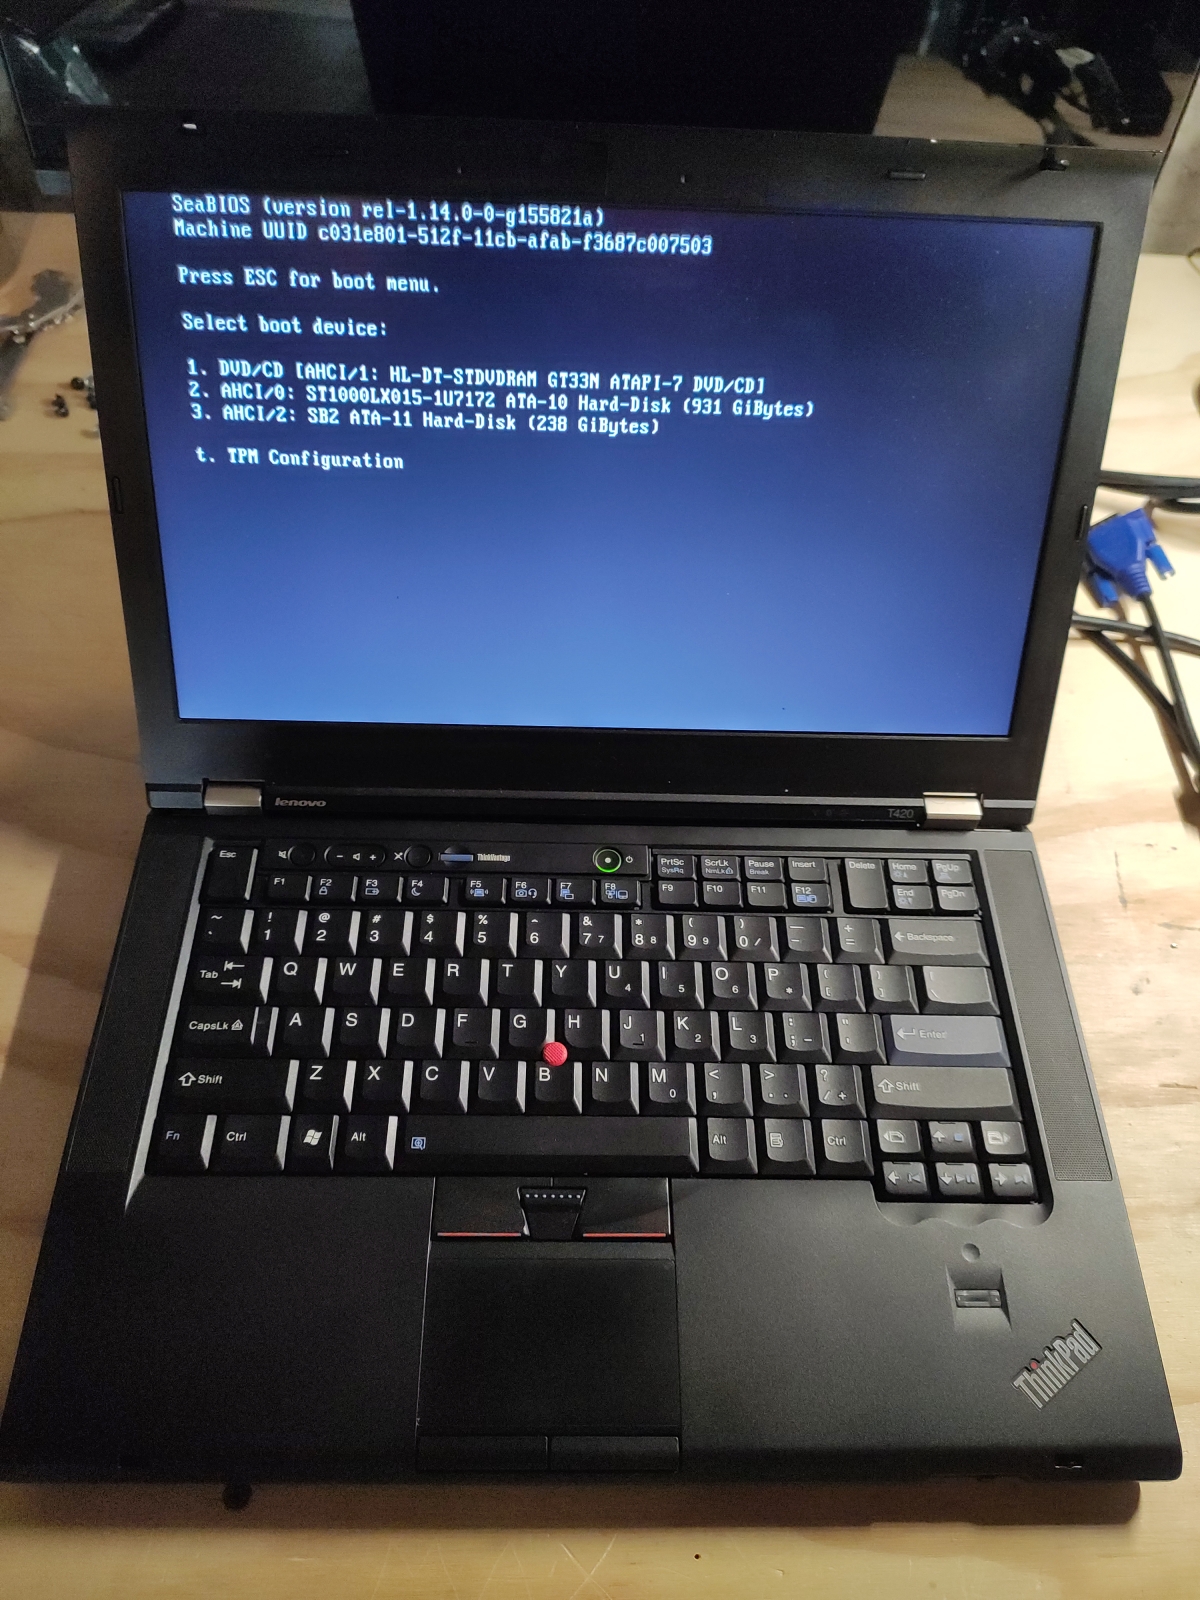
This will take longer than the read did so be patient. Once this command has finished the T420 should be flashed with Coreboot! Now follow the hardware maintenance manual and put it all back together.